Tuesday, December 13, 2011

Tinned Tongue


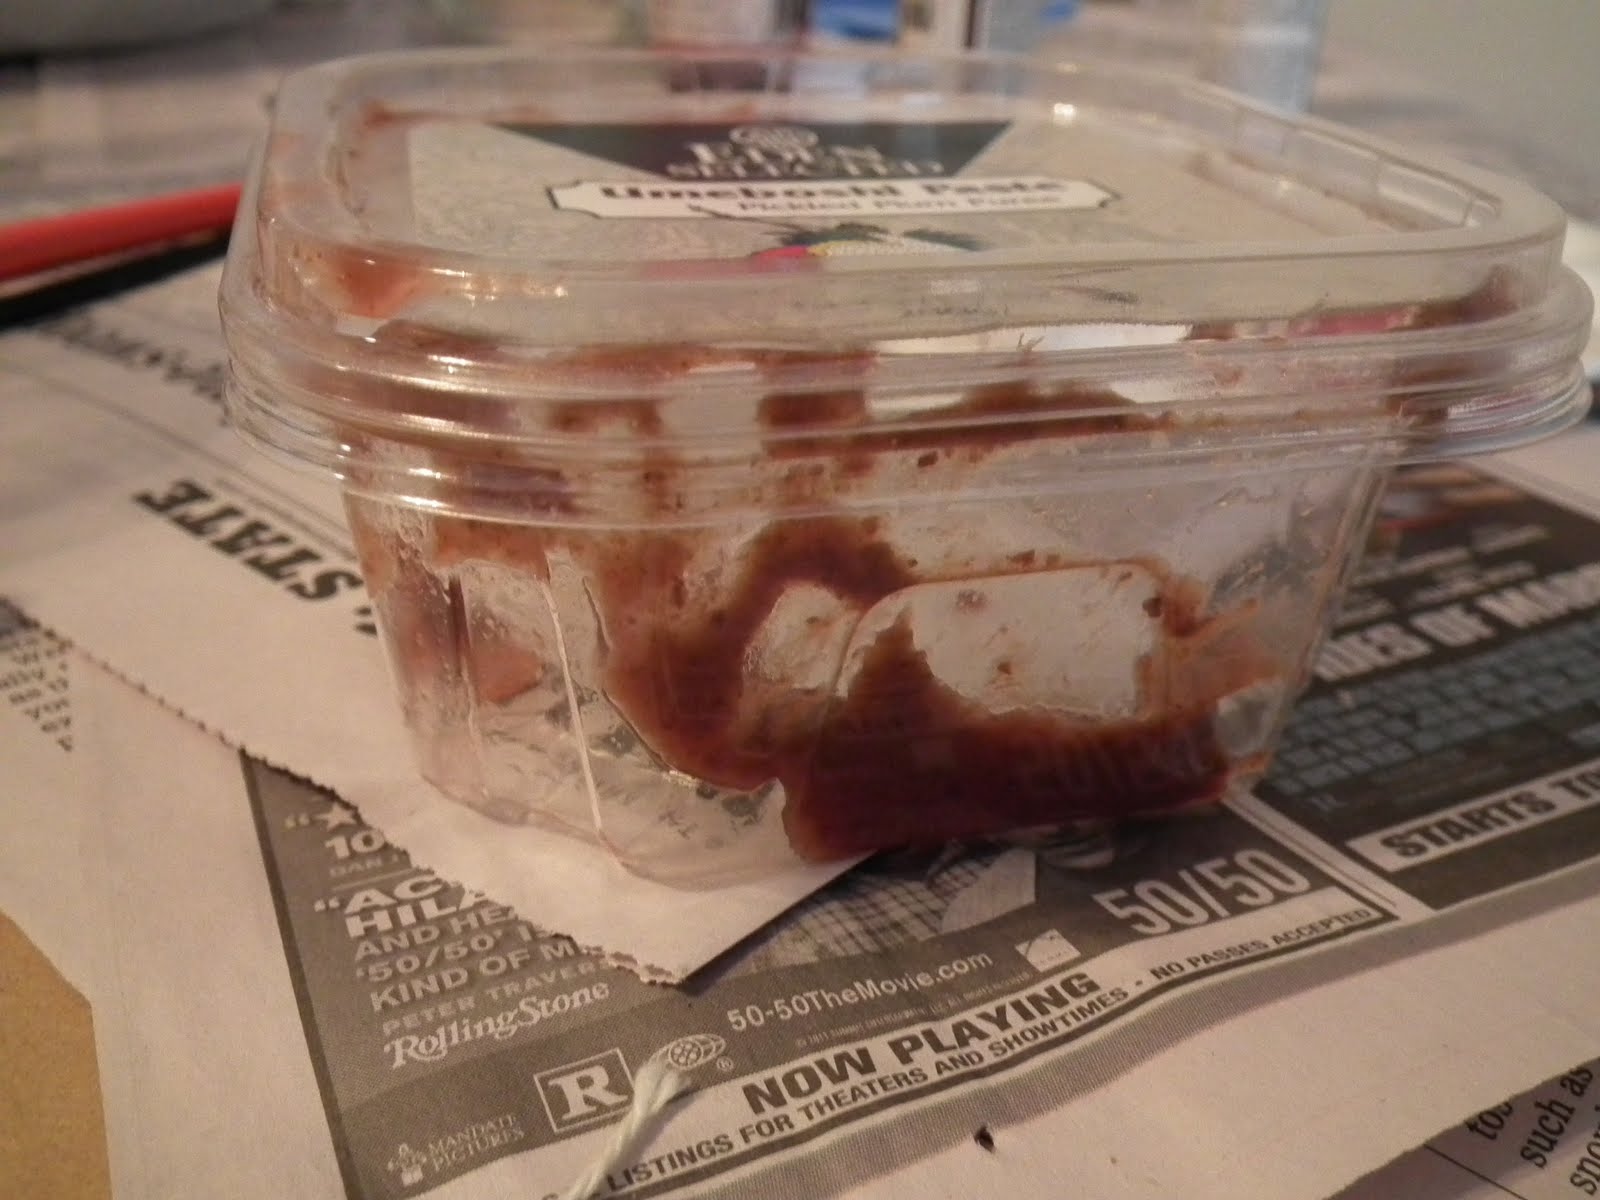
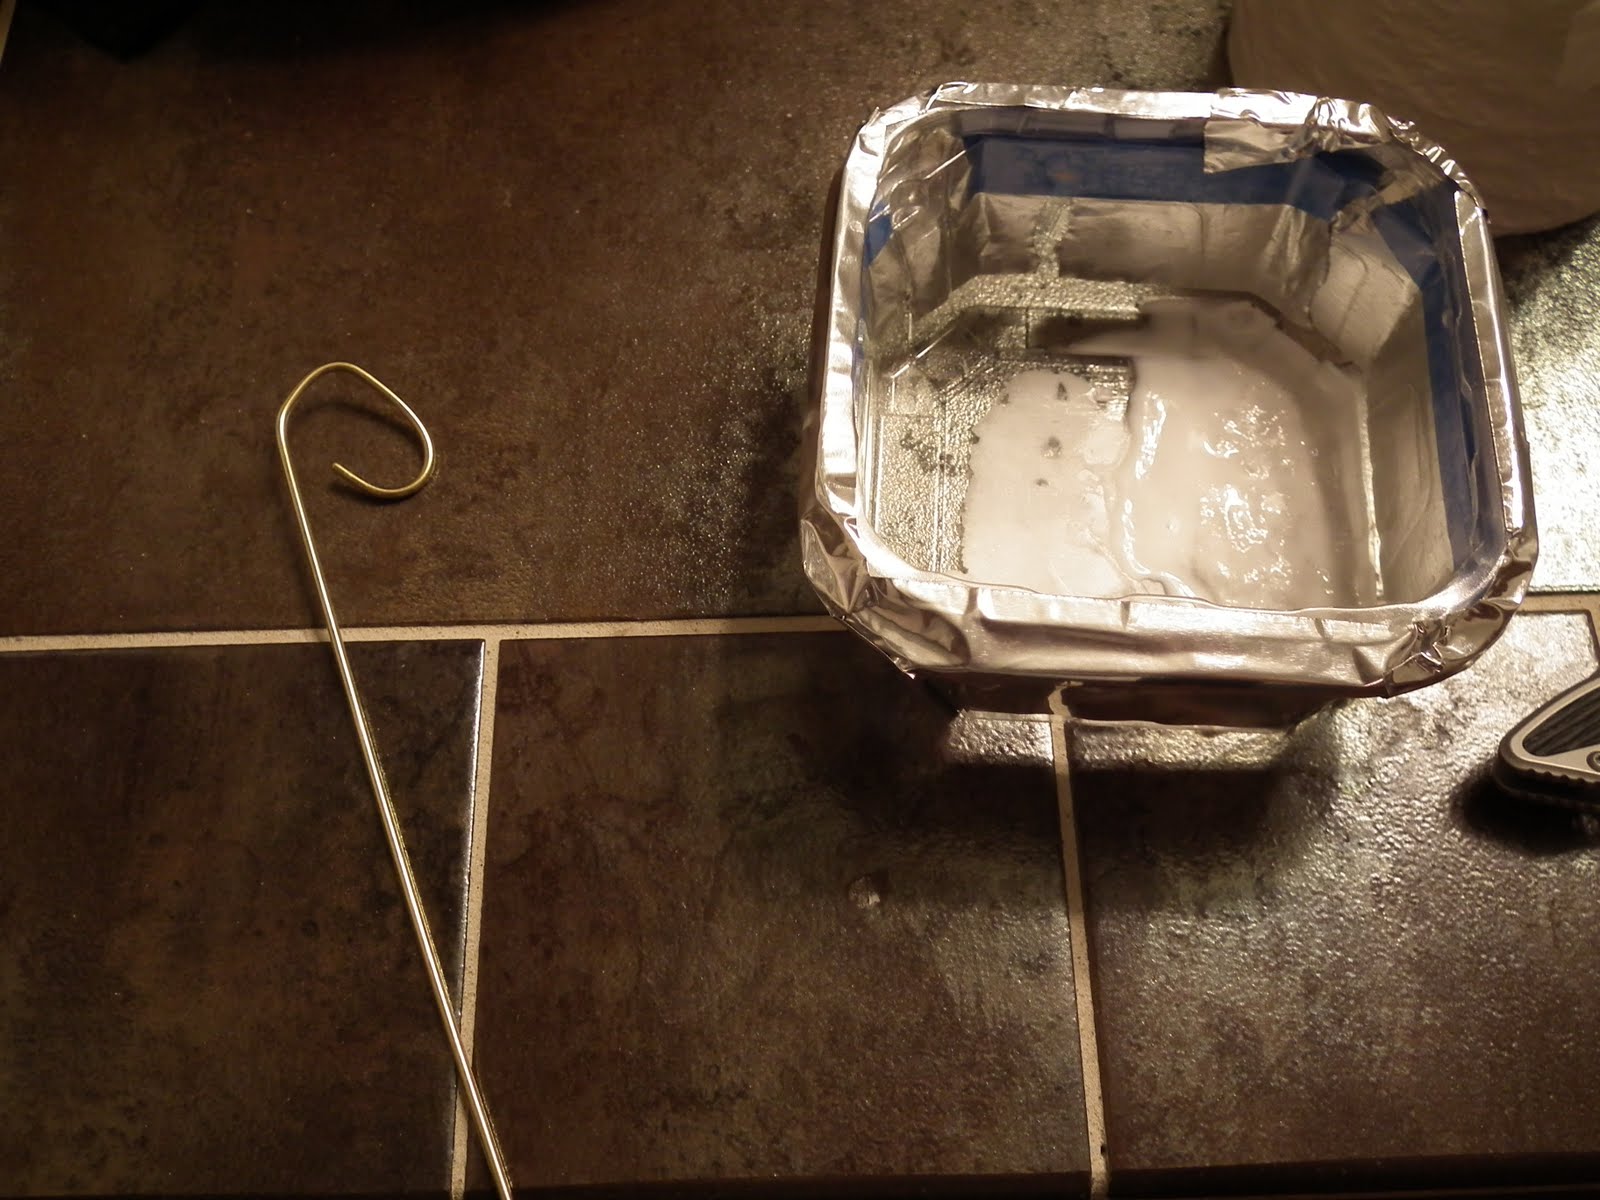
For the last scene in “Then There Were None,” we required a can of tinned tongue. Although the research image on tinned tongue showed a round can, it was decided that a square tin with a key would look more period correct. For the body I used a plastic food carton of about the right shape, which I then mocked up a lid for out of paper, which I curled, taped, and modge podged into place. With the addition of a metal key which I bent out of 14-gauge wire, and an amazing label I had a local artist make, I created something marvelous that no one in the audience ever actually saw. It should be noted that the audience was approximately 40 feet away from the can at all time, and really couldn’t see it at all.

Animal Cane- Finished Product


In the end, I painted my frog silver with modeling paint and painted the cane itself black. I added a rubber base to the bottom of the cane to reduce slipping and wear.

Animal Cane- Process


I began by making a frog blank out of air-dry modeling clay. I wanted to insure the frog would be comfortable as a grip, so I shaped the body to the curves of my hand. When my frog blank was finished and dry, I used two part silicon mold maker to cast a mold of both my frog and a spiral base that would help the sphere set into the cane. Once my mold was dry and ready to use, I cast the frog out of two-part resin, placing a screw in the base of the sphere so the frog could be easily screwed onto my cane. As for the cane itself, I took a dowel rod and used a lathe to trim and taper the end slightly.

Animal Cane- Research


For our cne project, we were told to make animal head canes. I have always found animal head canes to be mildly creepy, so I asked and received permission to make an entire animal on the head of my cane. I chose to build a frog perched on top of a sphere that served as the head of the cane. I took most of my inspiration from a cane image I found on the internet, but also used images of other frogs.

Weapon( Retractable Knife)- Designs


To address the problem of building a retractable knife, I began the design process by making a series of sketches of various types of different knives. The director’s initial preference was to have a flip open knife that would then retract into its handle. My initial design for this was flawed by the fact that once the knife had been flipped open, I couldn’t design a catch to keep the knife in the upright position. Later, I decided that this problem could be remedied with the use of a snap open ruler, which would be placed inside the blade. I created another design for a switchblade, which was very similar to your basic retractable dagger, except that it included a latch mechanism that would hold the blade in until the trigger was pressed. I decided to build both knives at about the same time, in case one failed, I would have work on the other progressing.

Weapon( Retractable Knife)- Finished Product


In the end, the knife performed wel for a majority of shows, despite having a loose trigger. Unfortunately, on the day of the matinee, my fears were realized, and the knife became so saturated with fake blood that it swelled to the point of being unusable. After several hours in the oven on low heat, the knife became usable again, although the wood became weakened and it ultimately broke shortly after the play ended.

Weapon( Retractable Knife)- Process


I began by making clay replicas of both knife blades, my intention being to make silicon molds out of both, and then cast resin blades. While I was able to make a resin version of the flip blade, the switchblade clay blank was broken beyond repair, and in the time crunch I was under, I switched to using a wood blank, which I had previously avoided because of potential swelling when the wood became wet. While the flip open blade was proving successful, the resin was drying too slowly to meet the deadline, so I switched my focus to the wooden switchblade. Later, after construction and during rehearsal, it was decided that the blade also had to puncture the blood pack, so I inserted the very tip of a needle at the top of the blade, just enough to puncture through fabric and plastic, but not skin. In order to stop wood swelling, I sealed the blade and it’s insides with a spray wood sealant.